Custom Templates
Create and access your own template for journaling
Journey
With the "Custom Templates" plugin, you can now create, access, and delete custom templates. Create templates that will serve your journaling needs by building on already existing templates from Journey, or by building one from scratch.
To add a custom template:
- Open up a new entry from your timeline, or open up a template you would like to edit by clicking "+New"
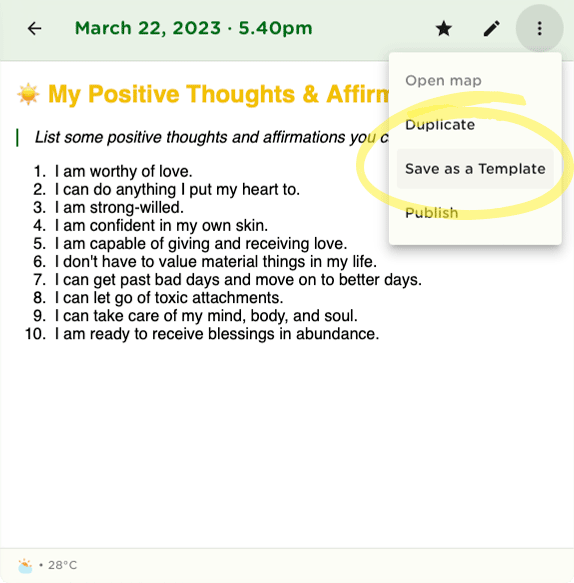
- After creating your own template or editing an existing template from Journey, select "Save as a Template" from the top right of your editor (click the icon next to the editing Pencil icon and select the "Save as a template" option from the drop-down menu)
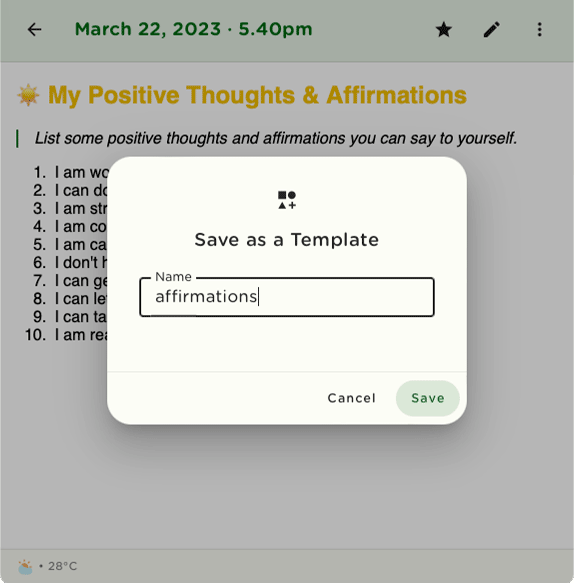
- Name your template in the dialog box that opens and click "Save".
To access your custom templates:
- Open up a new entry from your timeline by clicking "+New"
- Select "Template" from the editor.
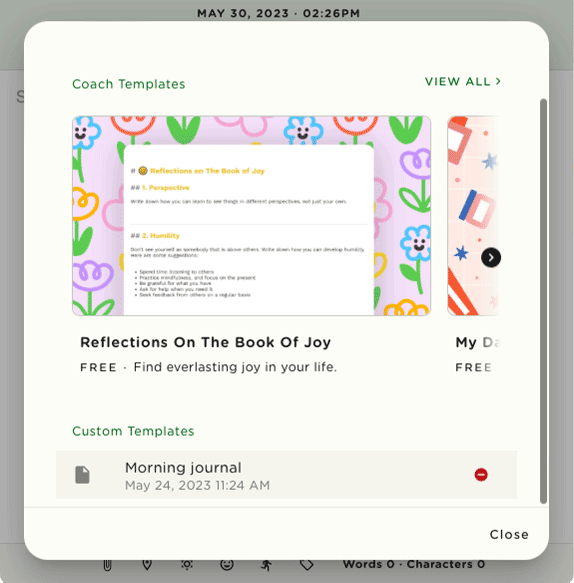
- Scroll down the dialog box that opens to reveal the list of "Custom Templates" at the bottom.
- Open up the template you need.
To delete your custom template:
- Open up a new entry from your timeline by clicking "+New"
- Select "Template" from the editor.
- Scroll down the dialog box that opens to reveal the list of "Custom Templates" at the bottom.
- Click the delete button on the right of the list of templates to delete a template.